This guide is currently React only.
Enable Coinbase Onramp
To enable Coinbase Onramp, you need to first enable it in the Dynamic Dashboard.
- Go to the funding page in the Dynamic Dashboard and enable Coinbase Onramp
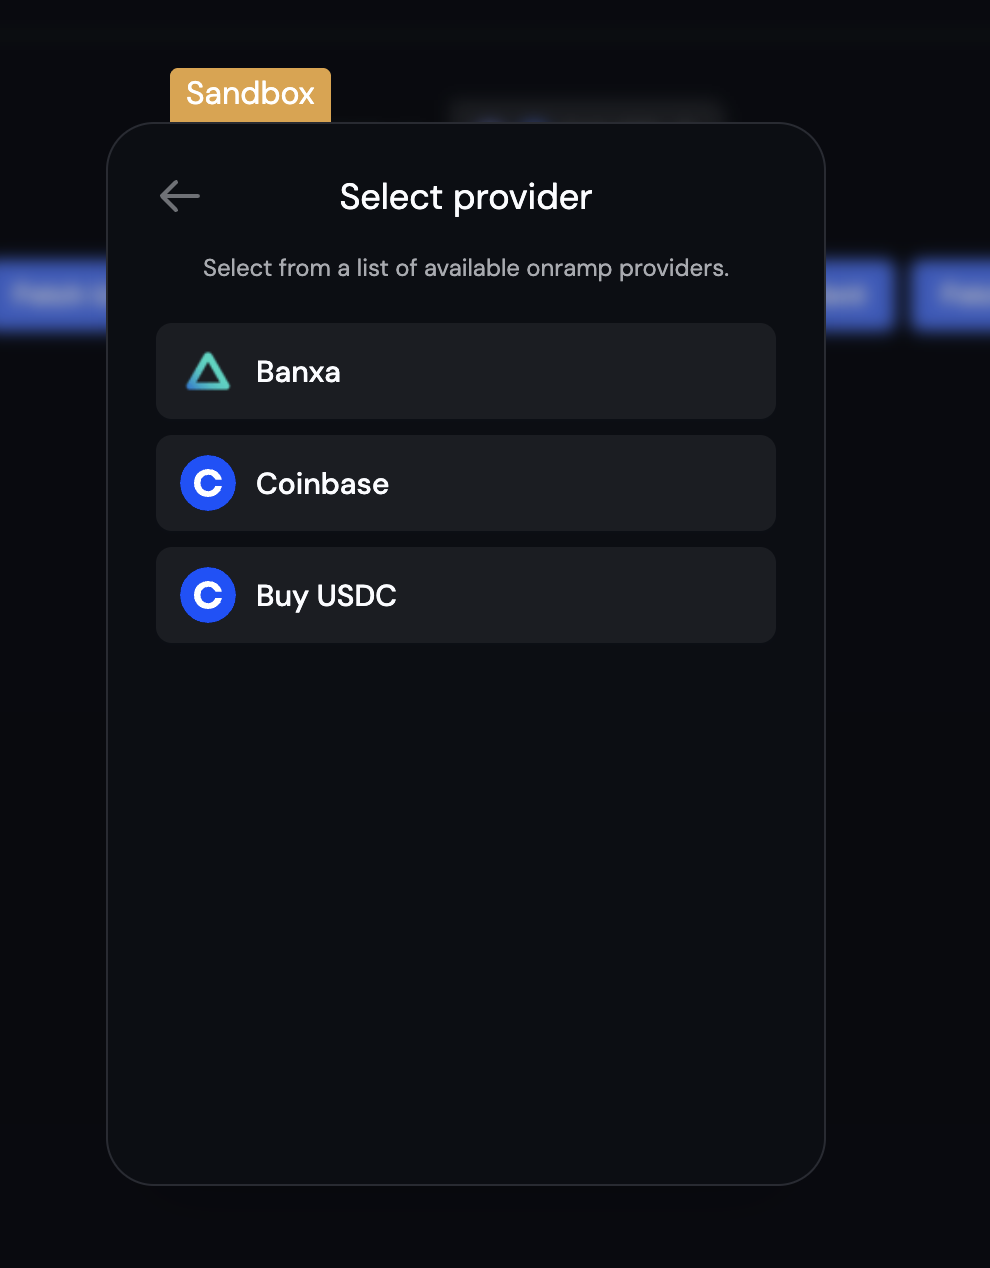
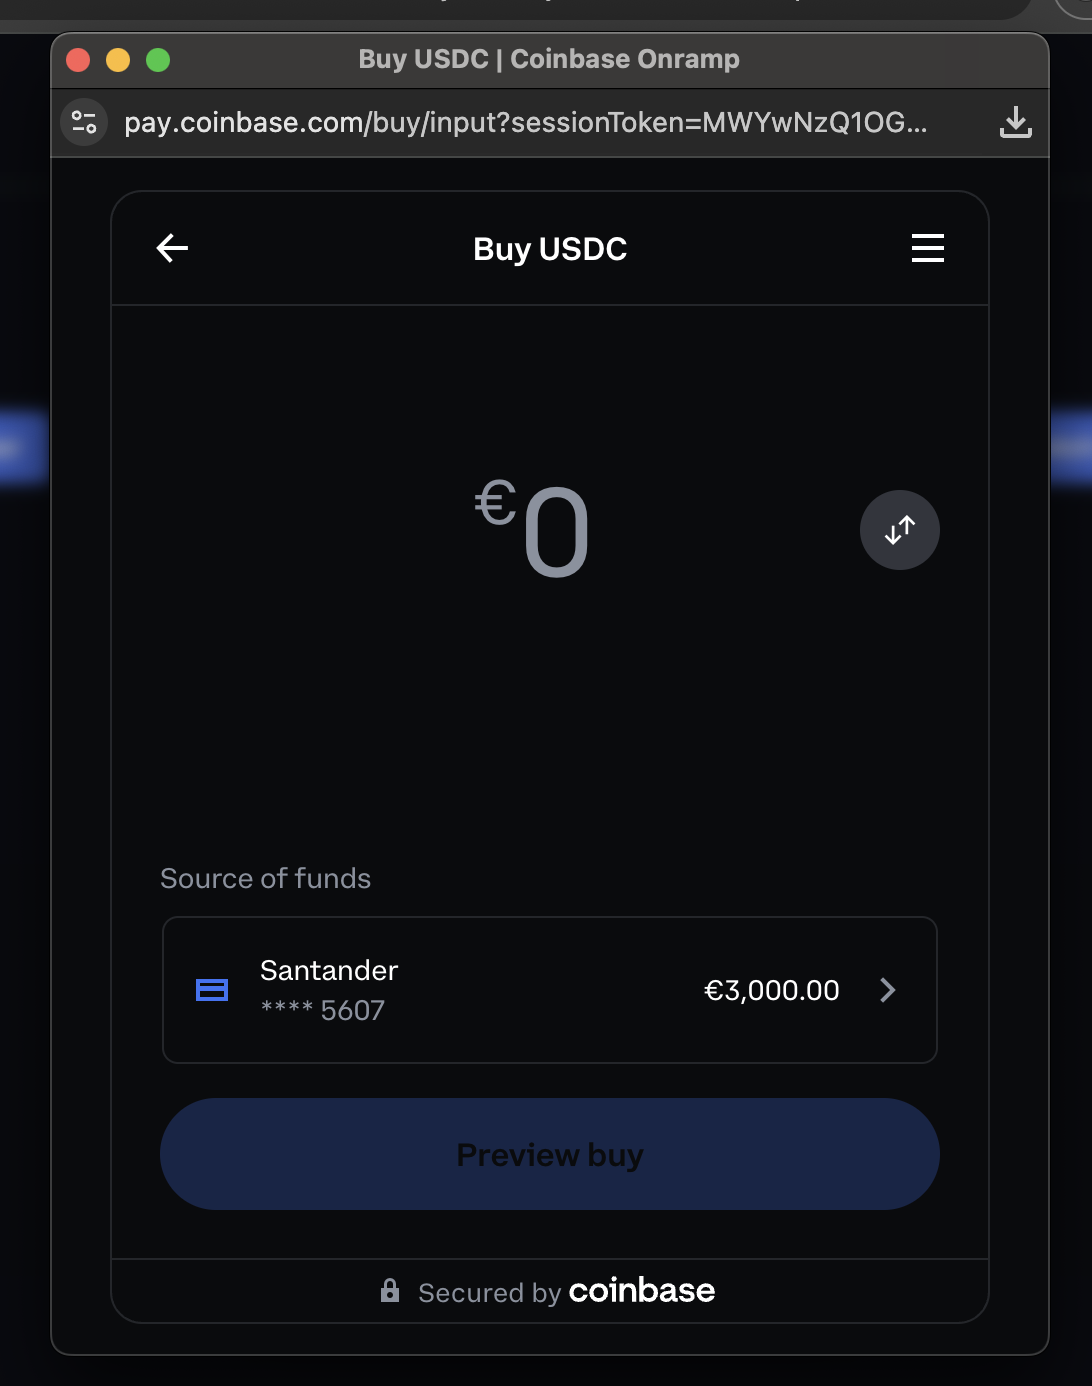
- Configure the onramp to use USDC as the asset and set the default experience to buy (onrampOptions)
React provides the ability to customize onramp options by overriding the default options with custom configurations for USDC purchases.const onrampOptions = (defaultOnrampOptions) => {
// Detect if we have a coinbase onramp option available
const coinbaseOption = defaultOnrampOptions.find(option => option.id === "coinbaseOnramp");
if (coinbaseOption) {
// Use the coinbase onramp option as a base and add a new option with the USDC asset and buy experience
const newOption = {
...coinbaseOption,
id: "coinbaseUsdc",
displayName: "Buy USDC",
url: `${coinbaseOption.url}&defaultAsset=USDC&defaultExperience=buy`
};
return [...defaultOnrampOptions, newOption];
}
return defaultOnrampOptions;
};
React provides the DynamicContextProvider with overrides to configure custom onramp options for your application.<DynamicContextProvider
settings={{
overrides: {
onrampOptions
}
}}
>
<DynamicWidget />
</DynamicContextProvider>
Next Steps
You can customize the icon and other aspects of the onramp experience. Learn more about that here.