General Setup
Enable in Dashboard
Navigate to the Dynamic Dashboard > Developers and enable Embedded Wallets, then click settings and choose the chains you’d like wallets created on.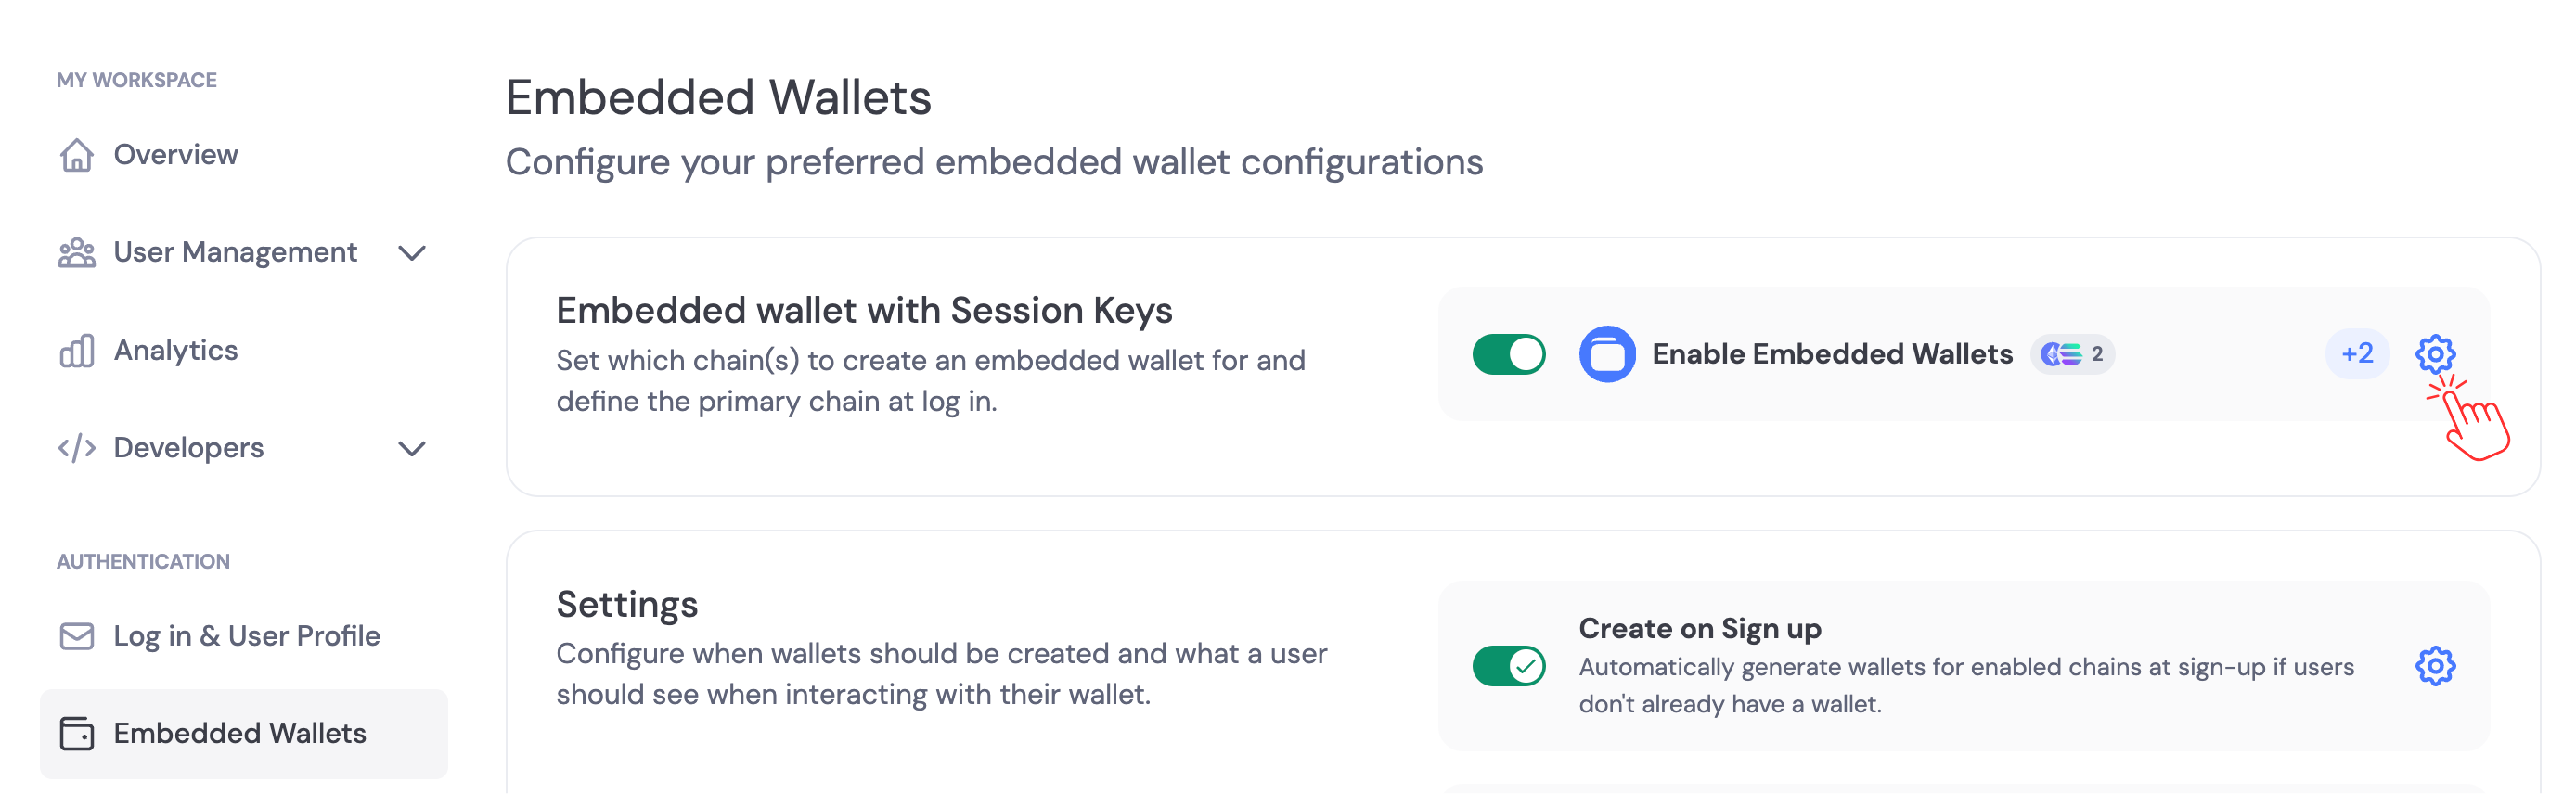
Using your UI
- React
- React Native
- Swift
- Flutter
1
Install Wallet Connectors
Note: You only need to install the connectors for the chains you want to support.
2
Configure CSP
You must whitelist the dynamic auth URL for the iframe connection to work. Here’s how:
In an HTTP header (e.g., Express.js)
In an HTTP header (e.g., Express.js)
⚠️ If you’re already setting CSP, append https://app.dynamicauth.com to the existing frame-src list rather than replacing it.
In an HTML `<meta>` tag
In an HTML `<meta>` tag
In NGINX config
In NGINX config
In Vercel or Netlify (via headers file)
In Vercel or Netlify (via headers file)
vercel.json
In _headers (Netlify)
In _headers (Netlify)
_headers
3
Configure Your Provider
Include the appropriate connectors inside your provider settings:Once enabled, you can choose whether wallets are created automatically on signup/sign-in, or created manually in your app logic. See Creating Embedded Wallets.
Next steps
- Create embedded wallets automatically or manually: Creating Embedded Wallets
- Configure signing/confirmation experience: Embedded Wallet Signing Configuration
- Import/export keys: Importing & Exporting Embedded Wallets
- Advanced signing scenarios: Raw Signing (EVM)